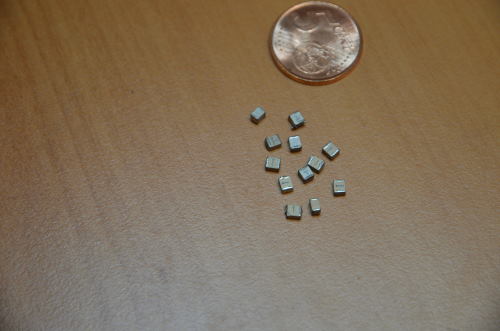
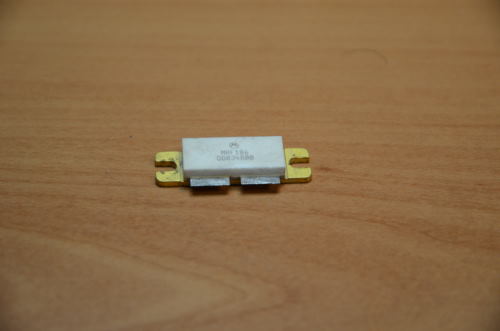
We are now talking about a very interesting mounting kit, cheap but, unfortunately, completely undocumented. There are a few web sites managed by smart radio amateurs that make up for the lack of information while, in my small way, I am publishing some pictures of my assembly, together with some personal comments. This Chinese kit does not suite well to new bees but, if you are quite skilled with SMD components soldering, you can build the amplifier even if you are not an RF electronics specialist.

The electrical schematic should be the following one:
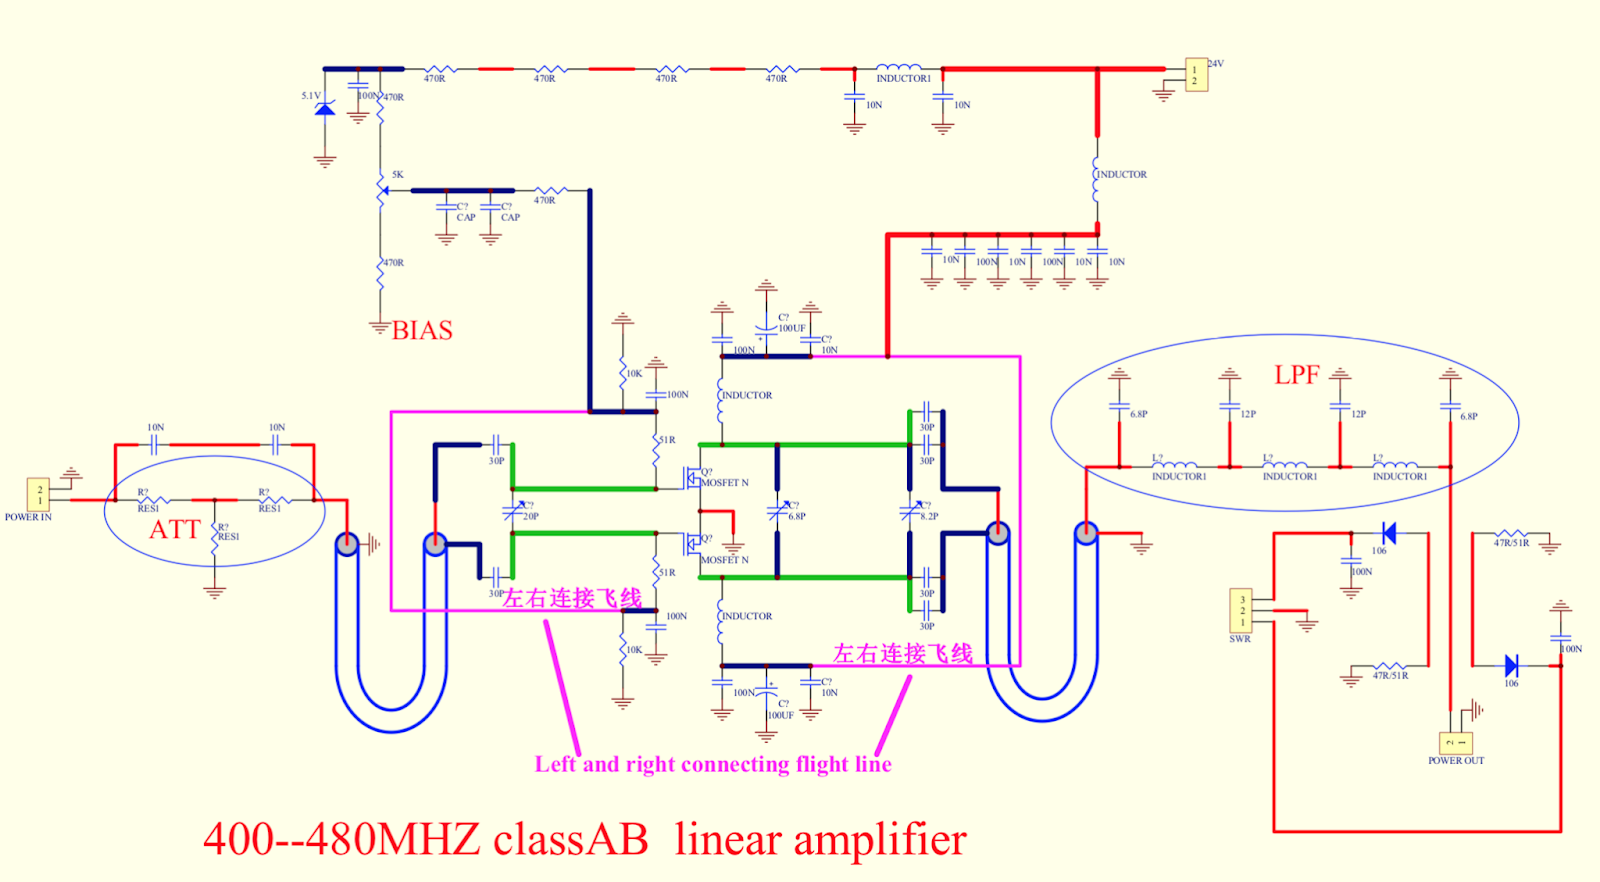
On the net, the best mounting instructions could be find in [1] and [2]. Another good source of information is on printed paper [3], in Italian, so it might be of no interest for you, as you are reading the English version of this article...
According to the mentioned instructions, you should begin mounting the bias circuit components.
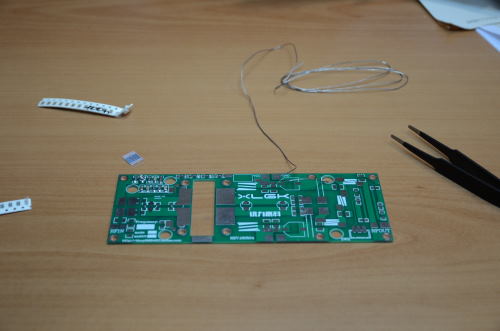
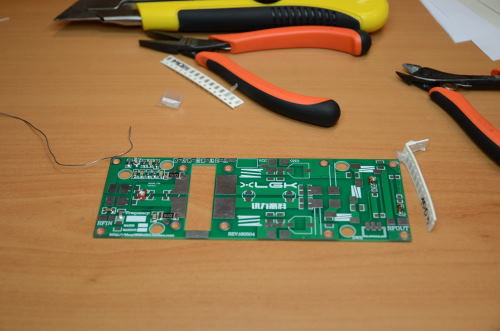
The instructions about how to wind the inductors are of crucial importance. The enamelled copper wire that I found in the mounting kit has a diameter of 1,25 mm. With that wire we must make:-
- 3 coils, each composed of 2 turns wound on a cylinder (tipically the bottom part of a drill bit) having diameter 3 mm. Pay attention to the winding direction, which must allow to place the terminals of the wire on the soldering pads. If you wind the wire in the wrong direction (as I did with the first coil, poor boy!) you cannot solder the inductor terminals on the PCB. Once you complete winding each coil, you pull it off the drill bit (without damaging it or changing its shape) and you Mount it on the printed circuit board. In other words, in the end, the coils are air-cored. If I were you, I would take into consideration the modification suggested in [5] (wind around a cylinder having diameter 3,2 mm instead of 3 mm).
- 2 coils, each composed of 4 turns wound on a cylindrical support having diameter 5 mm. One coil must be wound in one direction, the other coil must be wound in opposite direction. These are air-cored inductors too.
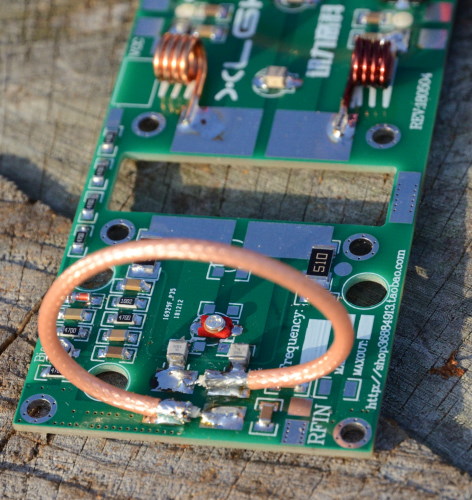
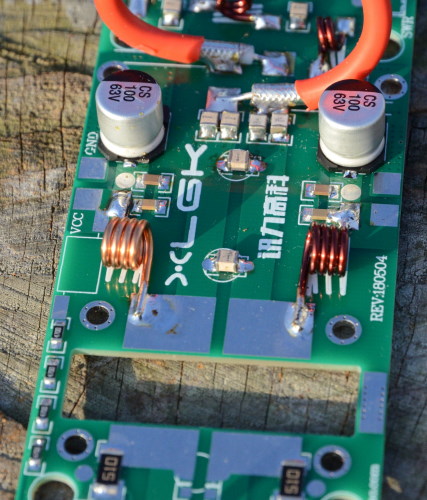
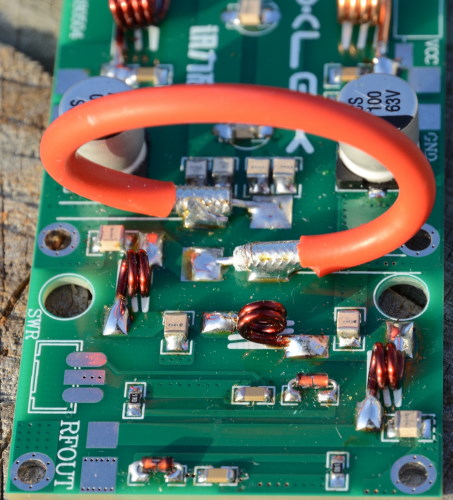
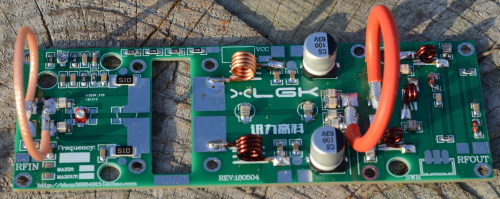
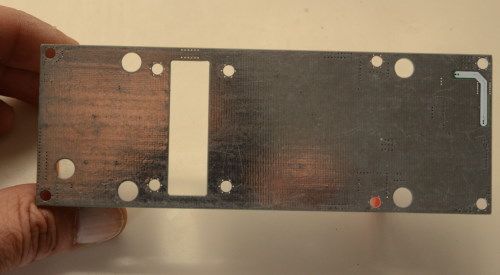
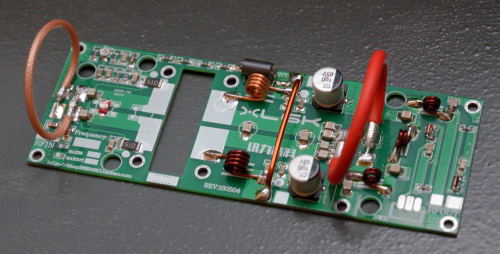
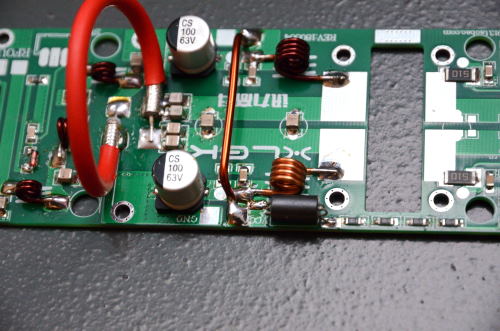
To wash the board, you can find several tutorials on the net. I use isopropyl alcohol in a ultrasounds washer (these washers are very cheap and you can find them even in the supermarket around the corner). "Pure" isopropyl alcohol puro (99,9% or better) is not free sale in Italy. On the other hand, it is not really needed, may be useless, for this project. You can simply spray denaturated isopropanol (you can buy it at any electronic material shop for few Euros) and clean with a paper towel, gently wipe or, better, dab. After that, rinse the board with water from the tap first, and, while the board is still wet, with demineralized water. Finally, dry dabbing with those special paper towels that do not leave any residuals of paper on the surface that you are cleaning and/or warm ionized air (there are some common hair drier that have the ionizer built in). If you don't have towels and ionizer, dry with whatever you want but try not to wipe, and never use non-ionized air! If you want, put the board not to close to a heater and leve it there for a few hours, to be certain that it is dry before applying voltage to it.
While I'll update this article from time to time with my latest findings, I suggest you again to read the references [4] e [5] for the measurement part and to improve the low-pass output filter.
So, if you are interested in this topic, come back to this pageto read the updates and, in the meanwhile, share the link in the social networks.
ik1hge
REFERENCES
[1] M0WGF, "Cheap Chinese 70cm 100W Linear Amplifier - Part 1", http://m0wgf.blogspot.com/2018/03/cheap-chinese-70cm-100w-linear.html
[2] GM4JTG, Jon Joyce, "400 – 470MHz MRF186 100Watt 70cm Linear amplifier - Part 1", http://g4fev.atspace.com/mrf18670cm.htm (I did not understand where is part 2, may be he didn't publish it?)
[3] I2WQ, Scandio Guarnaschelli, "Il mio box esterno per fare traffico via satellite", RadioRivista n. 9/2019, page 54.
[4] M0WGF, "Cheap Chinese 70cm 100W Linear Amplifier - Part 2", http://m0wgf.blogspot.com/2018/03/cheap-chinese-70cm-100w-linear_14.html
[5] M0WGF, "Cheap Chinese 70cm 100W Linear Amplifier - Part 3", http://m0wgf.blogspot.com/2018/05/cheap-chinese-70cm-100w-linear.html

This work is released under License Creative Commons Attribution - Non commercial - Share alike 4.0 International.
Author: ik1hge Roberto Filippo - Enclose address or link to this page.


