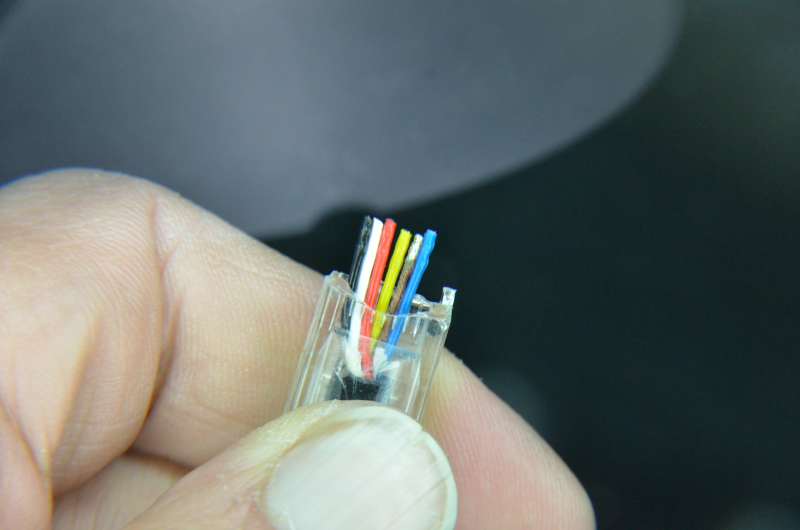
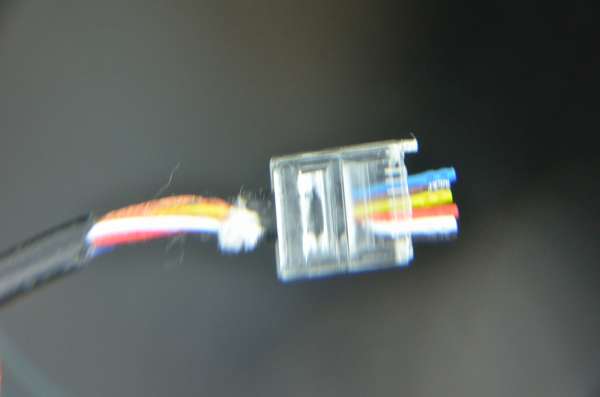
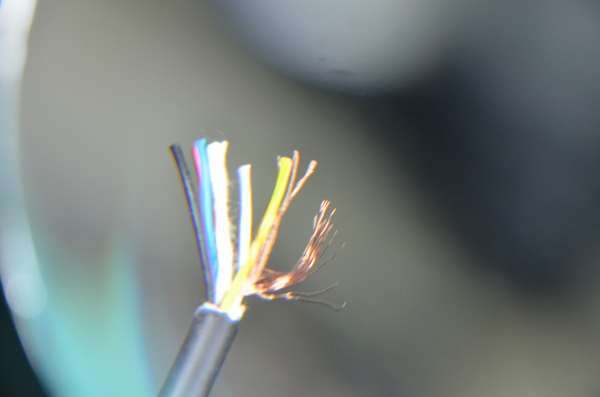
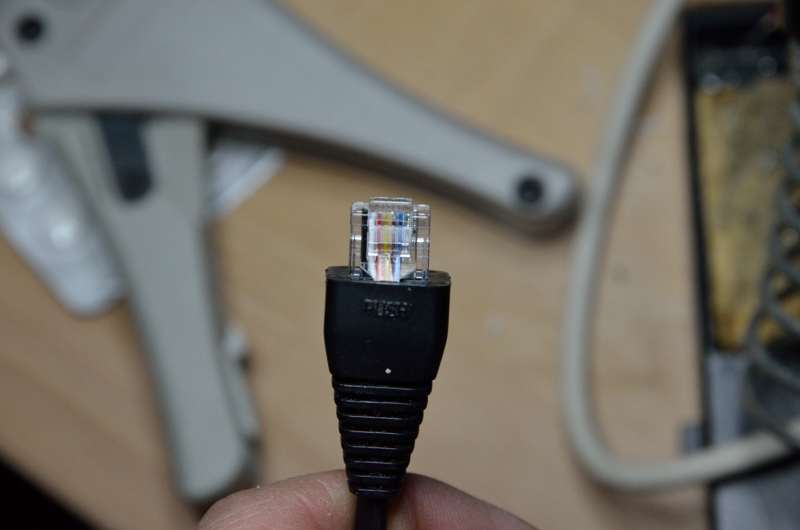
Broken connector and damaged mic chordConnettore mic RJ45 danneggiato, da sostituireConnettore e cavetto danneggiati

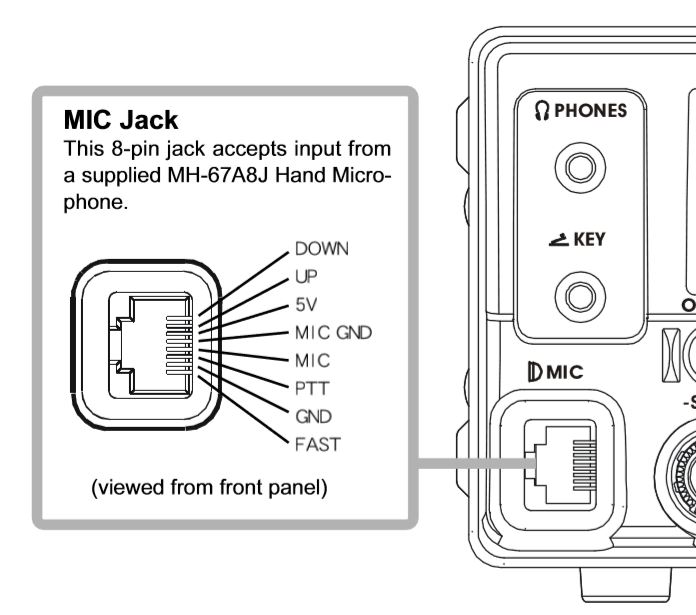
Pinout MIC connector Yaesu FT450

Wire color Function
Black FAST
White GND
Red PTT
Yellow MIC
Copper MIC GND
Blue 5V
Not connected Up
Not connected Down

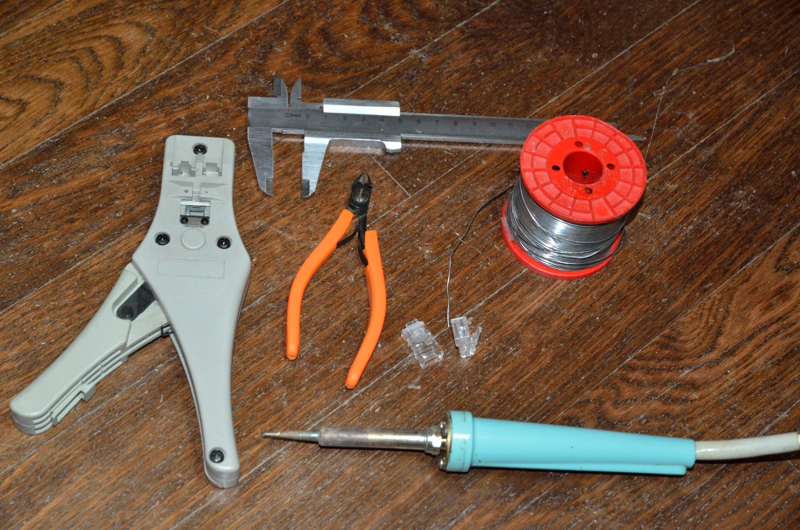
Sostituzione RJ45, materiale occorrenteNeeded tools:

  • Crimper for RJ45 modular connectors (very cheap in a DIY shop)
  • RJ45 connectors (I bought ten pieces for 90 Euro-cents in a DIY shop)
  • Cutter
  • A caliper or whatever you have to measure a length of 15 mm
  • Soldering iron
  • Soldering wire
  • Five minutes of time smile

Asportare la parte danneggiata del cavetto e sguainare la terminazione per una lunghezza di 15 mm

Remove the thick black sheeve for a length of 15 mm. Twist the bare copper wire to make it a little stiffer. You might want to add a very little drop of solder to its tip. Not too much because, if the wire becomes too hard, it won't be crimped. If you removed the connector hood from the cable, put it back where it was.
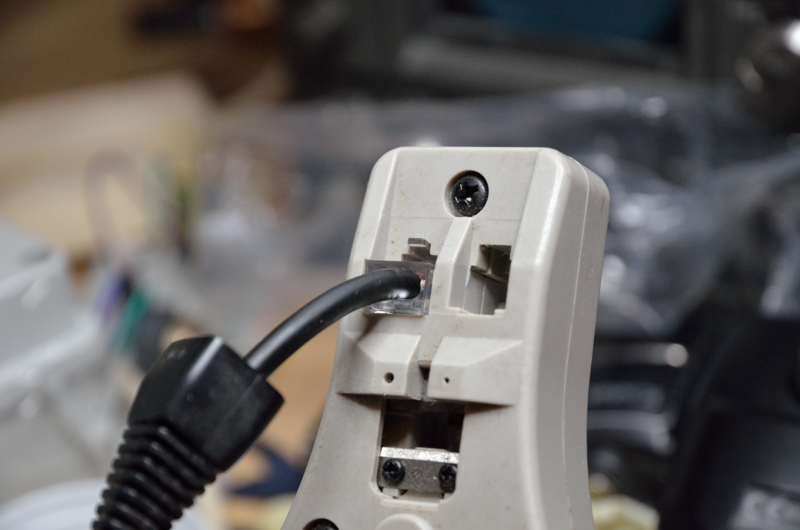
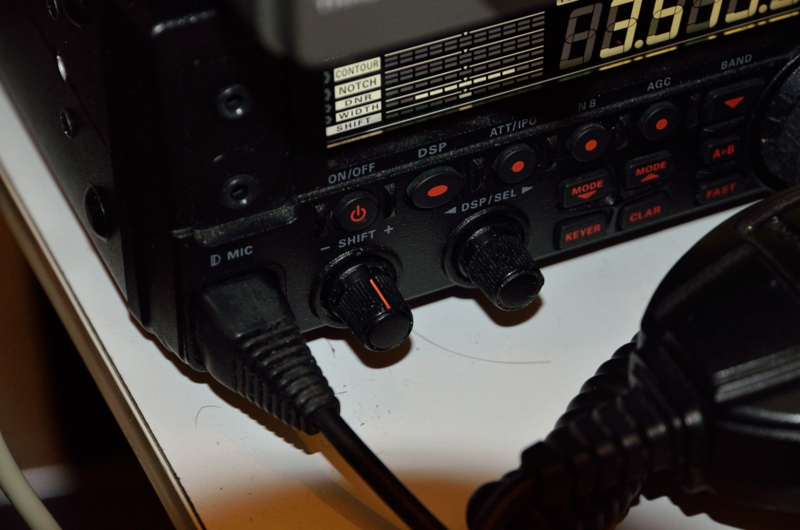
Dopo aver posizionato i fili, inserite il connettore nella crimpatrice e stringeteInsert the wires end into the receptacles of the RJ45 modular connector in the right order. Push them in so that their ends go all the way down, against the wall at the bottom of the connector. Insert the RJ45 connector into the crimper with the due care not to pull any of the wires off. Tighten the handles of the crimper… Release… That's it. Now plug the connector in, and test the microphone with your transceiver. If everything is ok, unplug, slide the hood along the cable so that the connector fits it precisely. 

 Connettore mic RJ45 a lavoro terminatoConnettore inserito nella presa MIC del ricetrasmettitore. Finito!Done!

Enjoy amateur radio!

Source: ik1hge.com

For reproduction of text and images, cite ik1hge.com and provide backlink to this website.